How To Create A Yahoo Account And Connect It To Autowarmup
How to create a Yahoo account:
- Type www.yahoo.com into your browser.
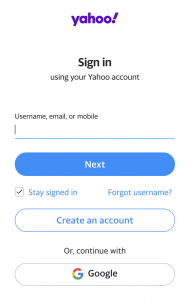
- Once the page loads click on the sign-in tab on the right side of the screen.
- Click Create an account.
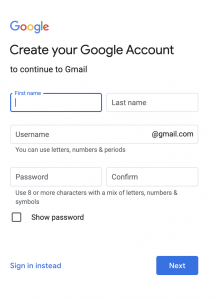
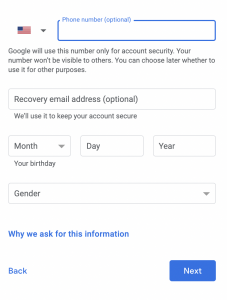
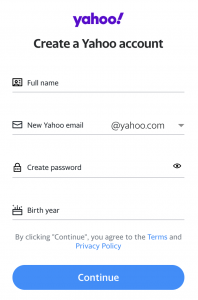
- On the sign-up page fill in your first and last name, create an email address, create a password, fill in your birthday and phone number, and press continue.
5. Verify your phone number and press the Text me a verification code tab.
- Type the verification code and press Verify.
- When the screen says success press Done.
How to connect your Yahoo account to Autowarmup and enable warming up:
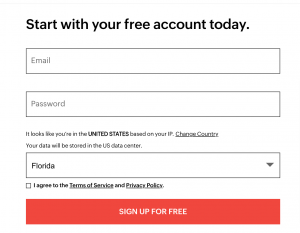
1. Begin by signing into autowarmup.com.
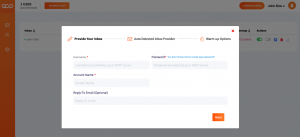
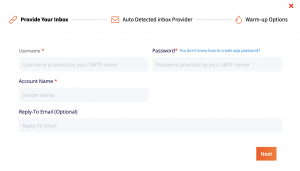
2. Click on Add New Inbox on the dashboard

3. Fill in the necessary details on the pop-up. Please note that the username is your full email address.
4. Create a password:
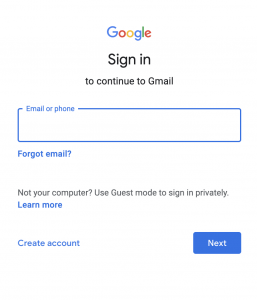
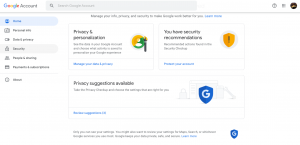
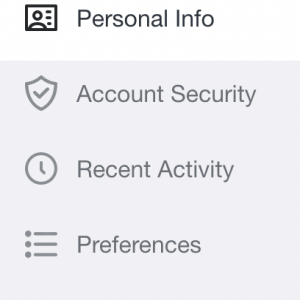
a. Sign in to your Yahoo Account and click Account Info.
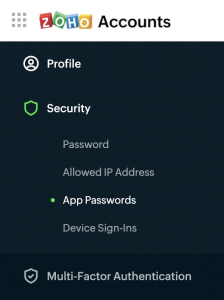
b. Navigate to Account Security on the left-hand side of the page.
c. Scroll down until you see App Password.

d. Click Generate app password or Generate and manage app passwords.
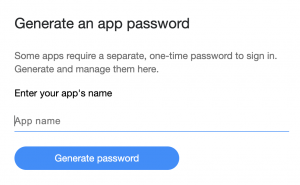
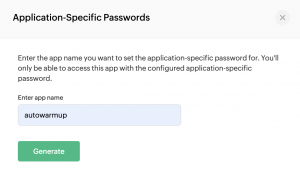
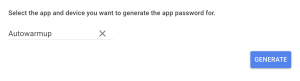
e. Enter your app's name (Autowarmup) in the text field.
f. Click Generate password.
5. Enter the password given into the password text field.
6. Enter the Account name and click on next.
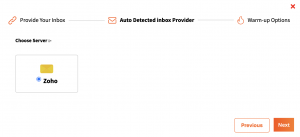
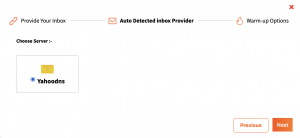
7. In the Inbox Provider pop up click on Yahoo DNS as the server.
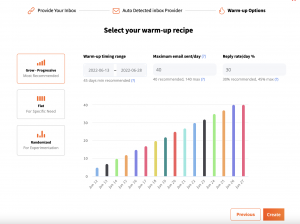
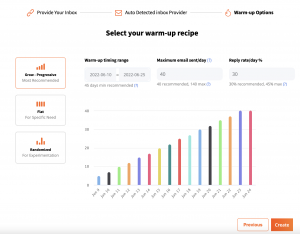
8. Add how many emails you want to send per day, how many replies you want per day, and the warmu-up timing range. For a brand new account, we recommend sending 40 emails per day, a timing range of a minimum of 45 days, and a reply rate of 30.